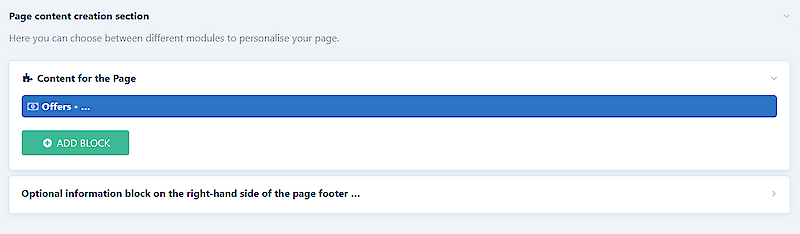
1. Scroll down to the topic "Page content creation section".
2. Click on the "ADD PLOCK" button.
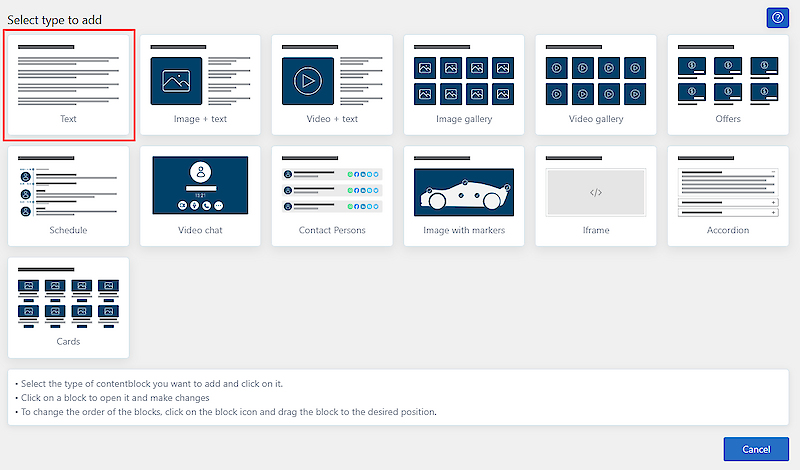
3. A pop-up window will appear. Select the option "Text".
4. Text block is added to the admin view.
5. Add the desired content in the "Text block" field.
6. Click the "SAVE" button at the top or bottom of the page.
1. Scroll down to the topic "Page content creation section".
2. Click on the "ADD PLOCK" button.
3. A pop-up window will appear. Select the option "Image+Text".
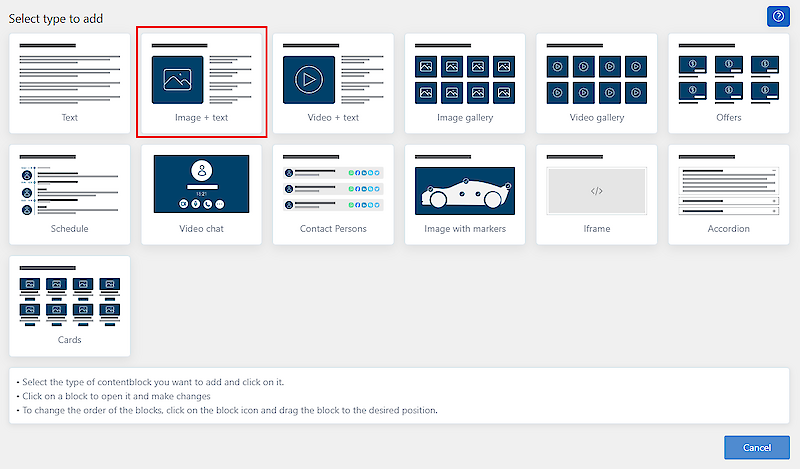
4. Image+Text is added to the admin view.
5. Add the desired content in the "Content Text" field and upload the image.
6. Click the "SAVE" button at the top or bottom of the page.
1. Scroll down to the topic "Page content creation section".
2. Click on the "ADD PLOCK" button.
3. A pop-up window will appear. Select the option "Video+text".
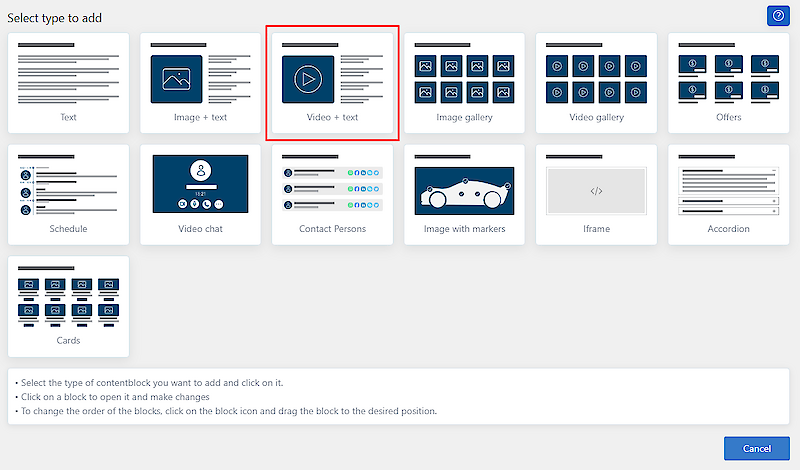
4. Video+Text is added to the admin view.
5. Add the desired content in the "Short Text" field and insert Youtube/Vimeo link to field "Videobanner".
6. Click the "SAVE" button at the top or bottom of the page.
1. Scroll down to the topic "Page content creation section".
2. Click on the "ADD PLOCK" button.
3. A pop-up window will appear. Select the option "Image gallery".
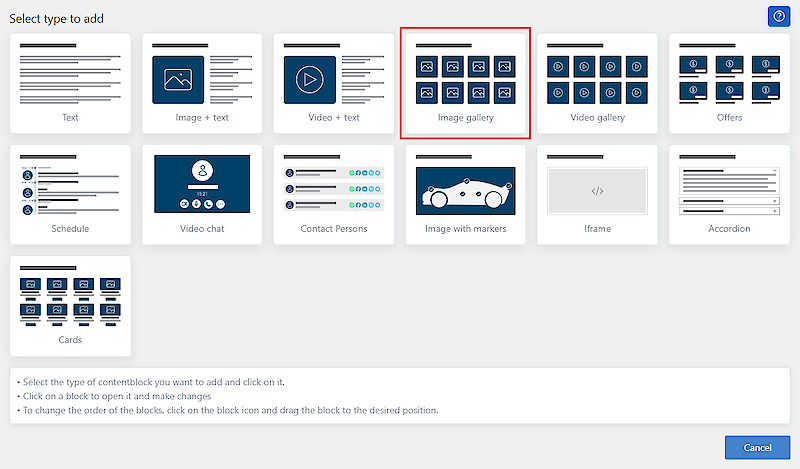
4. Image galleru block is added to the admin view.
5. Add the desired images to the field "Images container"
6. Click the "SAVE" button at the top or bottom of the page.
1. Scroll down to the topic "Page content creation section".
2. Click on the "ADD PLOCK" button.
3. A pop-up window will appear. Select the option "Video gallery".
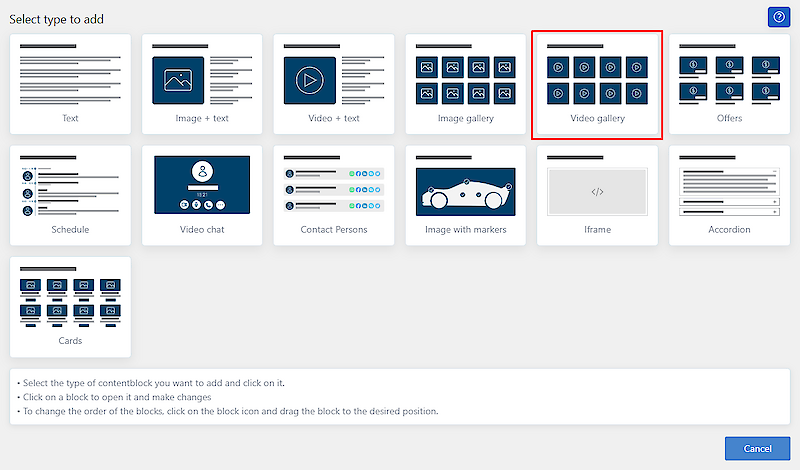
4. Video gallery block is added to the admin view.
5. Add the desired video links (Youtube or vimeo) - AFTER EVERY LINK PUSH "ENTER", so that every link is on different lane
6. Click the "SAVE" button at the top or bottom of the page.
1. Scroll down to the topic "Page content creation section".
2. Click on the "ADD PLOCK" button.
3. A pop-up window will appear. Select the option "Schedule".
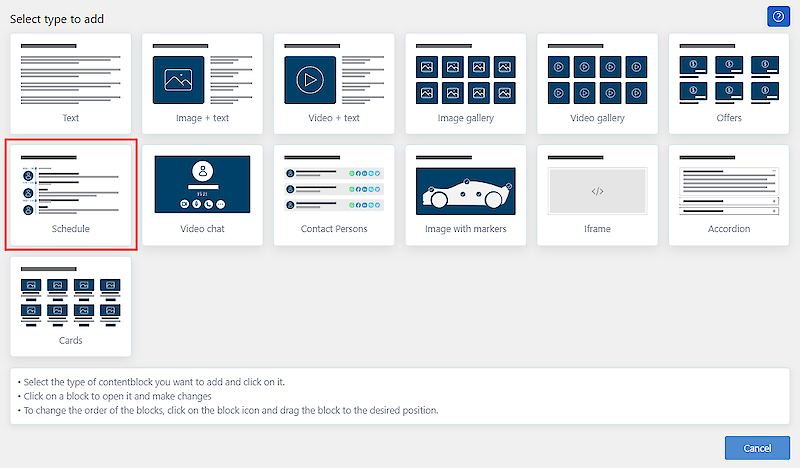
4. Schedule is added to the admin view.
5. Add the times, title and a short description of the activity.
6. Click the "SAVE" button at the top or bottom of the page.
1. Scroll down to the topic "Page content creation section".
2. Click on the "ADD PLOCK" button.
3. A pop-up window will appear. Select "Video chat"

4. The Video chat block is added to the Admin view.
5. It is possible to add a title to the video chat, but not mandatory.
6. Click on the "SAVE" button at the top or bottom of the page.
PS: Video chat is like a chat room. You don't need to be logged in to video chat. To video chat with a booth visitor, you must have your booth view open in your browser tab.
The solution also works if you are using tab 1 but have the stand view open on tab 2.
1. Scroll down to the topic "Page content creation section".
2. Click on the "ADD PLOCK" button.
3. A pop-up window will appear. Select "Contact persons"
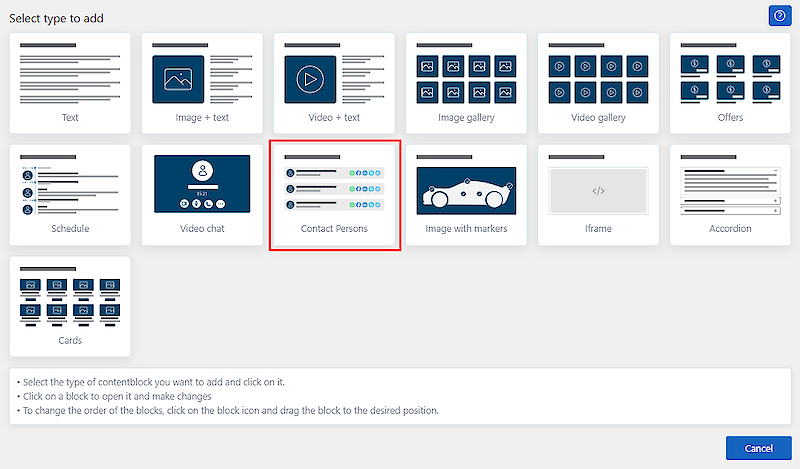
4. The Contact persons block is added to the Admin view.
5. It is possible to add links and contact details of different communication channels under contact persons. If you want to add more than one person, create a new Contact person block for each person.
6. Click on the "SAVE" button at the top or bottom of the page.
1. Scroll down to the topic "Page content creation section".
2. Click on the "ADD PLOCK" button.
3. A pop-up window will appear. Select the option "Image with markers".
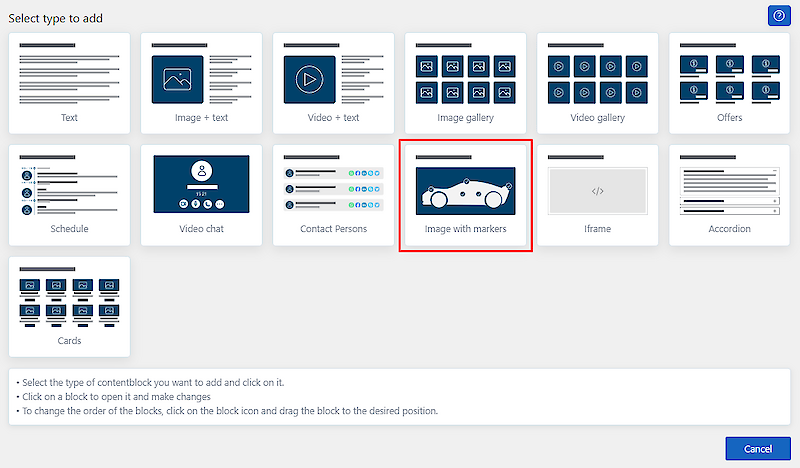
4. An Image with guidelines block is added to the Admin view.
5. Add a map/image file to your event plan and click the "Save" button at the top or bottom of the page.
6. Re-open the Image with guidelines block. From the "Page Markers" information field (the system will provide you with event subpages), select the pages you want to display on the image/map and click the "Save" button again.
7. Re-open the Image with guidelines information block. In the top left corner of the image, a red dot (depending on how many subpages you previously selected) with a number will appear. Move the marble to the desired location and press the "Save" button.

P.S.: The system will display the dot number information below added picture.
A solution for inserting information with a picture and short text. Topic items are displayed next to each other, and clicking on a topic item displays the content of the topic below.
1. Scroll to the topic "Content for the Page".
2. Click on the button "ADD PLOCK".
3. A pop-up window will appear. Select the option "Tabs".
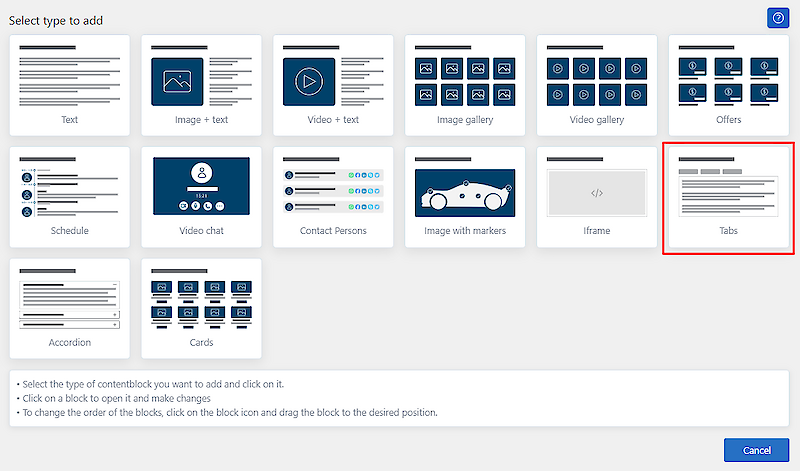
4. A tabs block is added to the Admin view. You can but do not need to add a title to the block.
5. To add a tab, click "Add New" on the active text - fields will open where you can add a title and short description of the tab topic.
6. To add a new card, click on the "Add new" button again.
7. Click on the "SAVE" button at the top or bottom of the page to save the added tabs.
A solution for frequently asked questions or for displaying information in a compact way
1. Scroll down to the topic "Page content creation section".
2. Click on the "ADD PLOCK" button.
3. A pop-up window will appear. Select "Accordion"
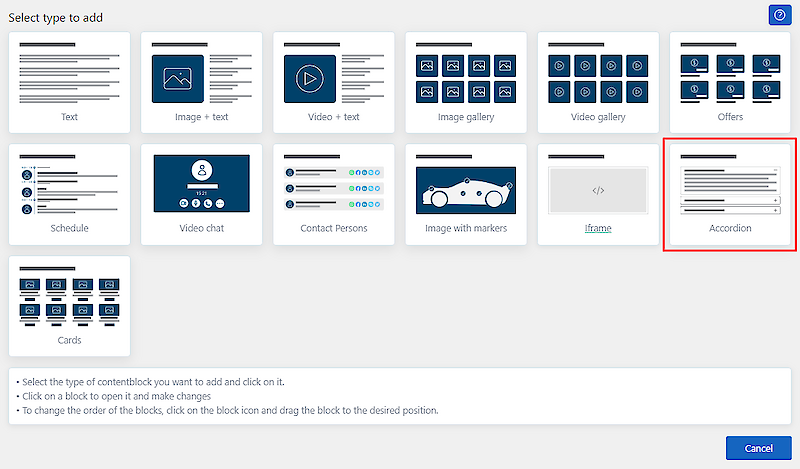
4. The Accordion block is added to the Admin view. You can but do not need to add a title to the block.
5. Click the "Add accordion item" button. Add a topic/question in the field "Headline" and a longer text or answer to the question in the field "Main text".
To add a new topic, click again on the button "Add accordion item".
6. Click on the "SAVE" button at the top or bottom of the page.
A solution for inserting information with a picture and short text. Possibility to add a button and a link to navigate away from the page.
1. Scroll down to the topic "Page content creation section".
2. Click on the "ADD PLOCK" button.
3. A pop-up window will appear. Select "Cards"
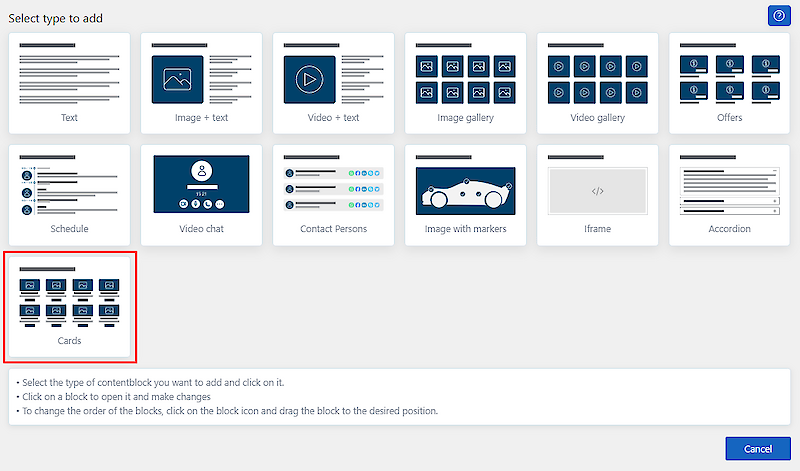
4. A Card block is added to the Admin view. You can but do not need to add a title to the block.
5. By clicking on the active item "Block settings" you can choose how many cards you want to display side by side. In addition, you can select the scale of the image to be added.
6. To add a card, click on the active text "Default card" - fields will open where you can add an image, a title and a short description. To add a link, click on the YES button - a field for adding a link opens and you can select the information (title, image, short text) to which you want to add the link.
7. To add a new card, click the "Default card" button again.
6. To save the information, press the "SAVE" button at the top or bottom of the page.
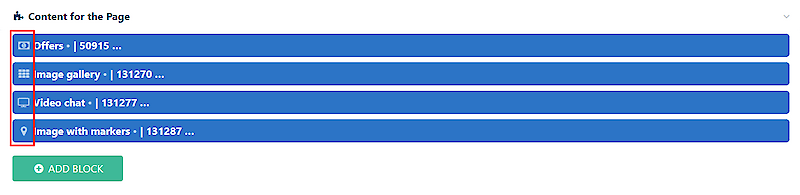
1. Click on the icon in front of the info block and drag the block to the desired location.
2. Press the "SAVE" button to save the new location.
1. Move the cursor to the content block you want to hide.
2. Icons appear in the right part of the content block.
3.Click the "On/off" button.
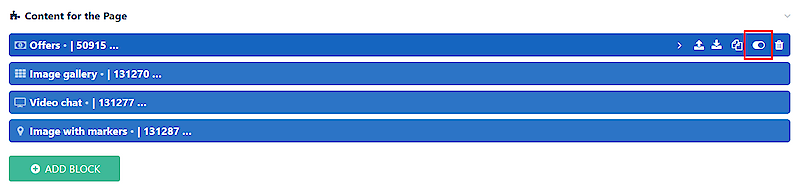
4. Press the "SAVE" button at the top or bottom of the page.
The colour of the hidden content block changes and the text becomes strikethrough.
You can make the content block visible by pressing the "on/off" button again and then pressing the "SAVE" button.
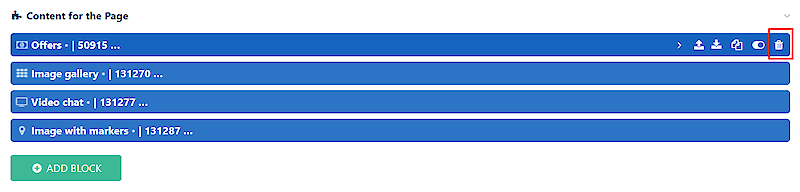
1. Move the cursor to the content block you want to delete.
2. Icons appear on the right edge of the content block.
3. Click on the trash icon.
4. Click on the "SAVE" button at the top or bottom of the page.
1. Move the cursor to the content block you want to copy or clone.
2. Icons appear on the right edge of the content block.
3. Click on the icon with two pages
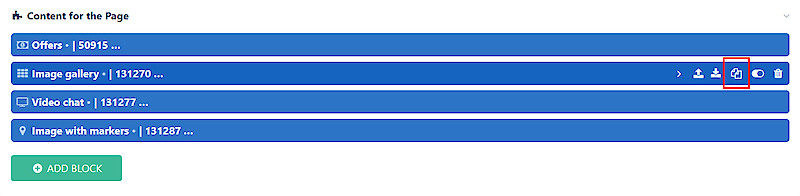
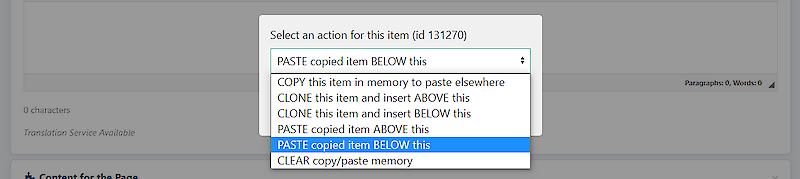
4. Select the action you want to do
5. Click on the "SAVE" button at the top or bottom of the page
If you want to copy-paste an existing content block to another subpage, first copy the content block to memory (the first option) and then open the subpage where you want to place the content block. The text "PASTE" will appear below the main content of the page - click on it and then click the "SAVE" button.